EVERY JOURNEY NEEDS A GUIDE , BE SURE AN ADULT IS BY YOUR SIDE !
Every JAMBO’S JOURNEY activity MUST have an ADULT’s supervision.
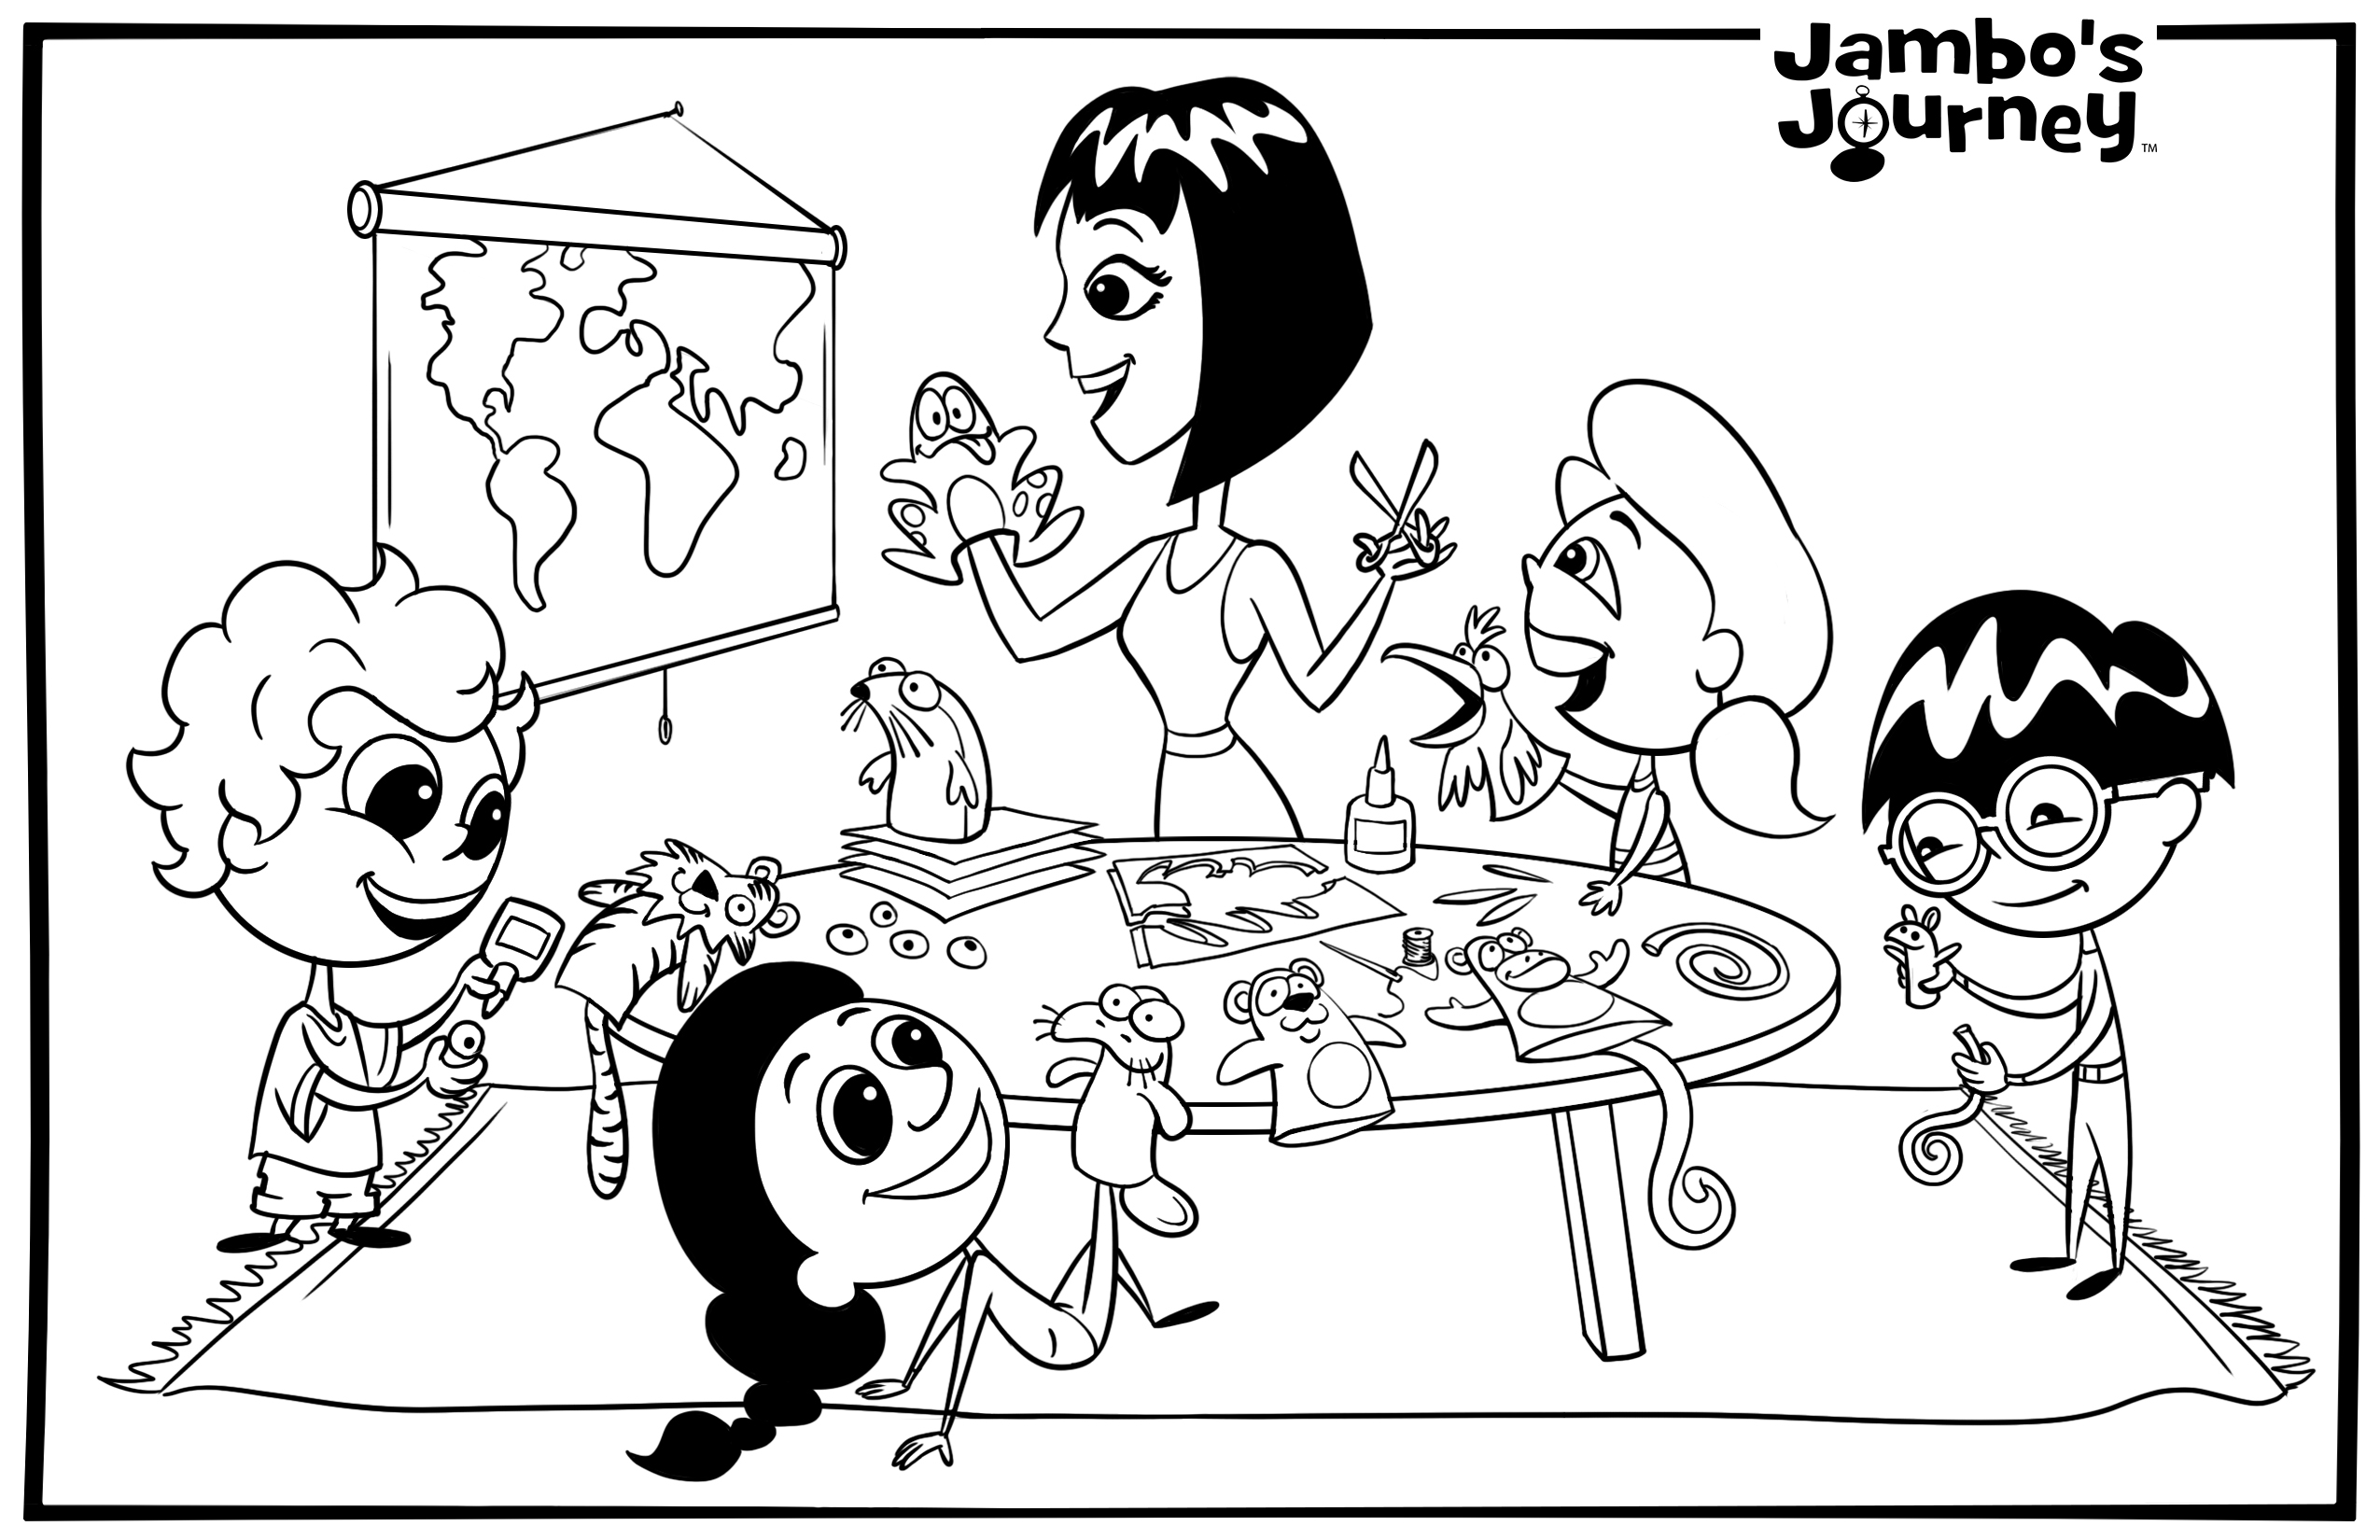
Puppet activity supplies: fabric, safety scissors, fabric glue or needle and thread, buttons or googley eyes, paper lunch sacks, construction paper, and markers.
 Whiskers Puppet:
Each TEAM JAMBO puppet can use the same figure. This figure is hand sized pocket-puppet that can fit over a standard adult OR child’s hand. This simple pocket can be made by sewing or by using fabric glue to create a three sided pocket with an opening at the base. You can also purchase a terry wash cloth, or a lunch sack that is already a constructed hand mit.
You will need:
- Base Pocket~ Grey Fabric
- Belly~ grey oval fabric, and cotton balls/stuffing type material, or marker
- Eyes~ Googley eyes, 2 buttons, or marker
- Nose~ Marker
- Mouth~ Yarn, or black marker
- Ears~ Black Marker
- Whiskers~ clip 3 clean bristles from a nylon broom, or use a marker
- Flipper’s~ 2 grey fabric ovals
- Tail~ 1 grey fabric oval
- Sea Grass Munchie~ Green pom-pom
Instructions:
- Take a rectangle piece of grey fabric, then fold it in half and sew or glue the outside edges. Make sure to leave an opening for your hand!
- If you are using fabric glue allow the puppet to dry over night.
- Next, Turn your puppet inside out so all the seams are on the inside. Now you are ready to create your character!
- To create the ‘sea cow’ effect take your grey oval for the belly and sew or glue the edges to the puppet, make sure you allow room enough to stuff his belly with cotton balls or recycled scraps from around the house. The last and final step is to glue or sew the opening shut to ensure you won’t loose the stuffing material out of your puppets belly.
- Connect the googley eyes or buttons in the desired ‘eye’ location.
- Mark two dots in the desired place for your puppet’s nose.
- Attach the yarn, in the desired shape for your puppet’s mouth. Or draw it on with a marker.
- Place two large black dots on either side of the head in the desired ear location.
- Fold your three nylon bristles in half, than sew or glue your bristles on the folded spot just under the nose to create a fanned out effect. or draw them on with a marker.
- For the flippers, recycle your grey scraps of fabric by cutting them into three ovals of the same size. Than attach two of the flippers on either sides of the puppet.Use the third oval as a tail and attach it to the back side of your puppet.
- Whisker’s LOVES sea grass, so we’re going to attach a green pom-pom to one of her flippers so she has something to munch on through out your adventures.
- Feel free to create accessories for your Whisker’s puppet out of objects you find on your daily journeys.
Now you’re ready to take your puppet on a journey. Be sure to take pictures update your passport every time you/your child and their puppet eco-friendly and friendly.
Bon Voyage ~ Adios Amigos ~ Safe Travels